Publishing tax to QuickBooks
Overview
To export receipts with tax to QuickBooks Online, the receipt and any line items it has must be assigned a tax rate from your QuickBooks Online account.
Applying tax rates
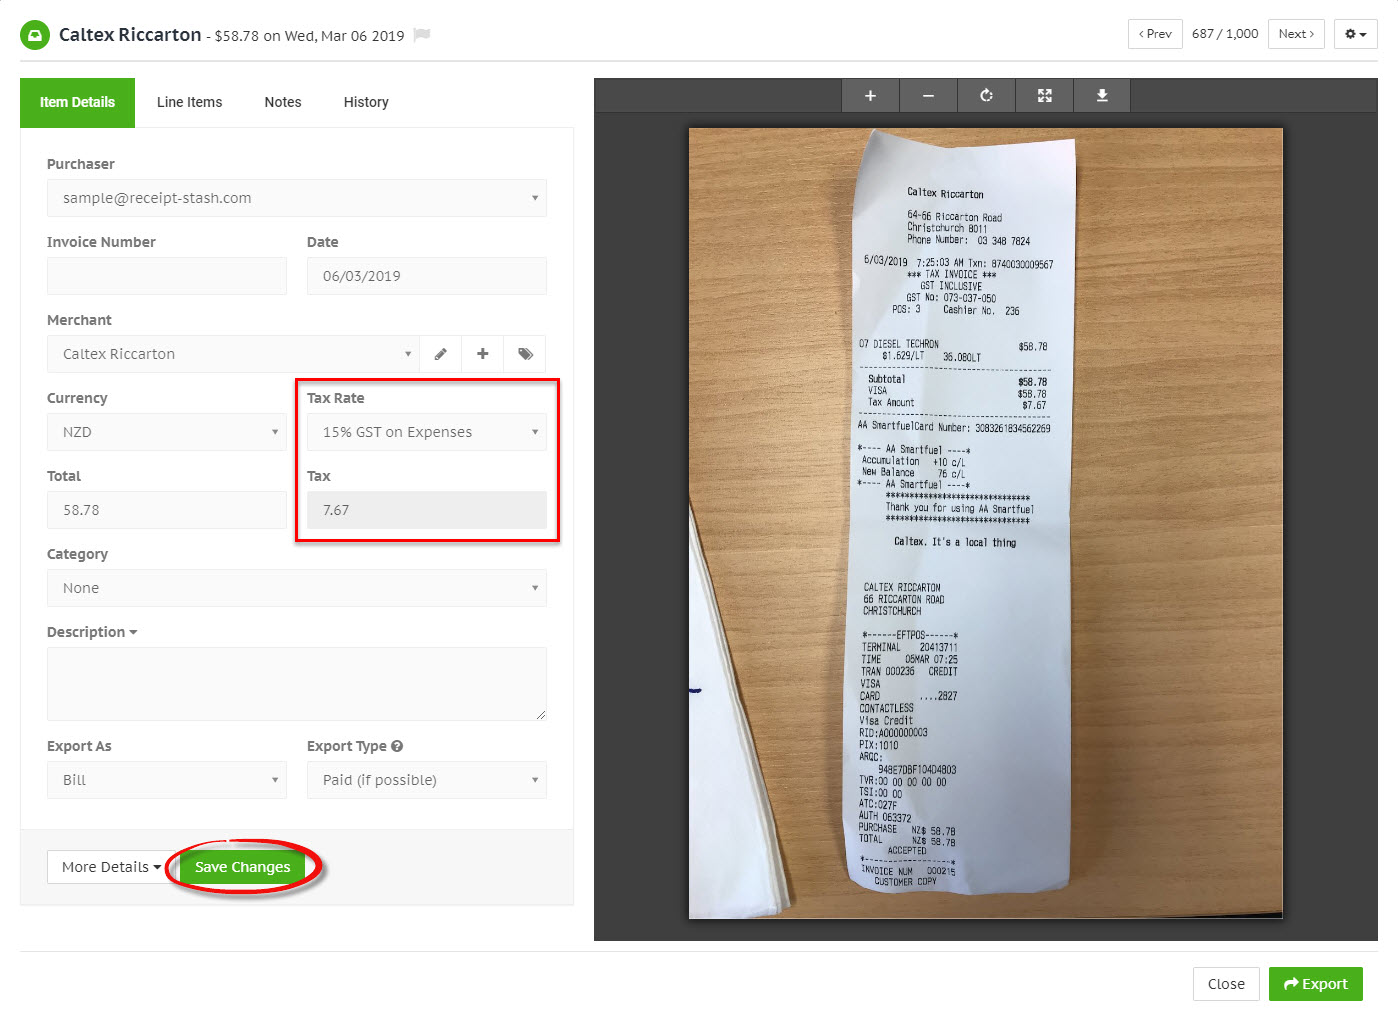
Navigate to the Receipts page and open the selected receipt by clicking on the green link within the Merchant column of the receipt table.
Select a tax rate from the Tax Rate dropdownlist. The Tax field will be automatically calculated based on the selected tax rate.
Click the green Save Changes button at the bottom of the Item Details tab to confirm the tax rate and tax amount for the receipt.
Split tax rate
Use the Split Tax feature when not all items on your receipt are taxable and you can't apply a tax rate to the total receipt amount.
See Splitting the receipt tax amount to learn how to create a split tax rate for a receipt.