Invoicing receipts to a client, with QuickBooks
Overview
If a number of submitted receipts need to be on-charged to a client, these can be packaged and turned into an invoice in QuickBooks Online.
An invoice will be created in QuickBooks addressed to your selected client or customer, and will include the expense details of your selected receipts.
Creating the invoice
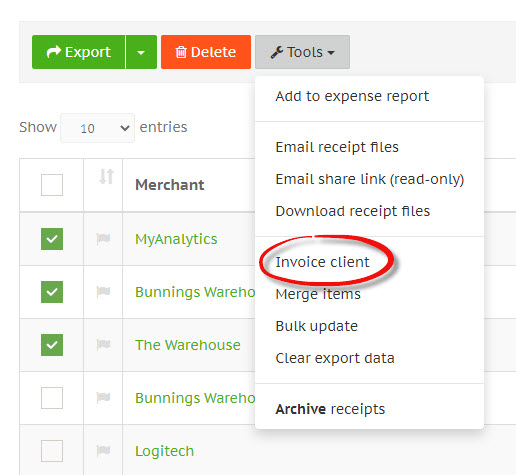
Navigate to the Receipts page and select the receipt(s) by ticking the check box at the beginning of the table row.
Once you've selected the relevant receipts, click the Tools button in the top left-hand corner above the receipts table, and from the dropdown list click Invoice client.
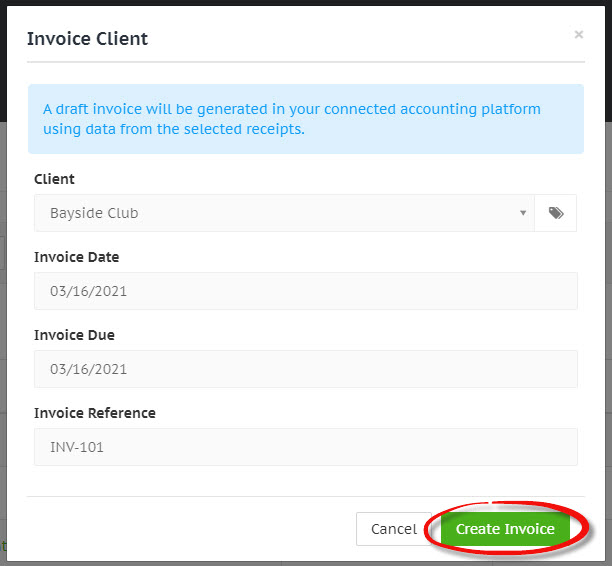
A window will appear with details for the invoice. Select the client and confirm the invoice details, then click the green Create Invoice button in the bottom right-hand corner of the window.
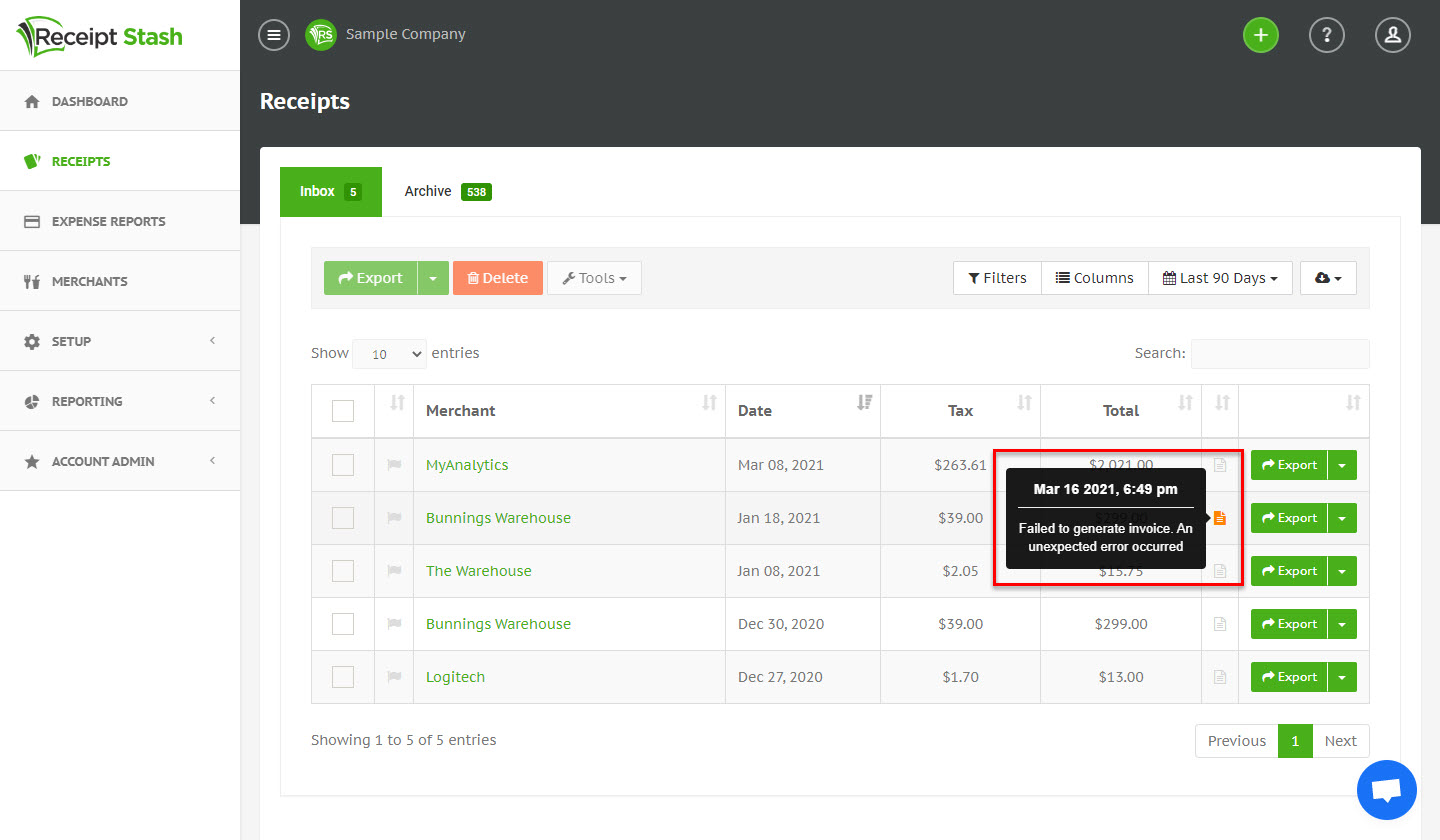
A loading icon will appear in the invoice column of each selected receipt in the table. Once the invoice has been successfully created, the loading icon will turn into a green document icon.
Hover the mouse over this icon to view the invoice details.

Invoice errors
When an invoice creation fails, the invoice column of each selected receipt in the table will display as an orange document icon. Hover the mouse over this icon to view the error description.